Install an Aquadec wet room floor former
in a few simple steps
The Impey Aqua-Dec Wet Room system
couldn't be easier or simpler to install. Competent DIYers can fit the
Aquadec
within a couple of hours, experienced fitters even less. Just simply
follow the 11 easy steps and you'll have a fully functional, aesthetically
pleasing showering area.
Click Here
to watch installation videos
Click here
for all the products you will need to construct your wet room project
Guide to Sizing an Aquadec |
|
 |
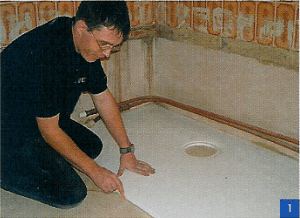
Step 1:
Trace around the edges of the
Aqua-Dec onto your floor so that you have an accurate template. |
 |
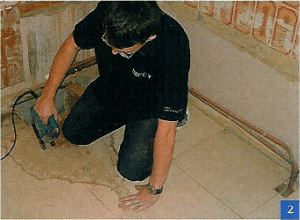
Step 2:
Carefully cut around your
template and remove the floorboards. |
 |
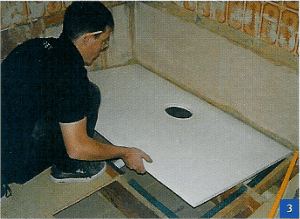
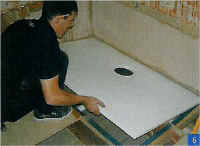
Step
3:
Place the Aqua-Dec in the newly-cut hole to
ensure that the aperture is accurate and correct. |
 |
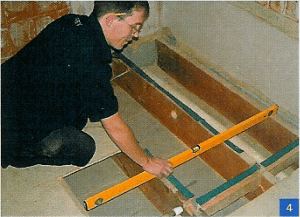
Step
4:
Once happy that the hole is correct, take
the Dec away and check joists on all sides to ensure that they are all
level and plum so that the Dec's pre-built gradient will work efficiently. |
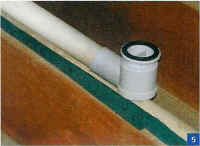 |
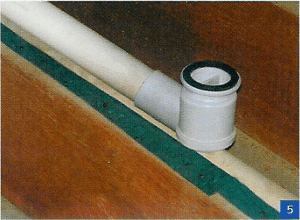
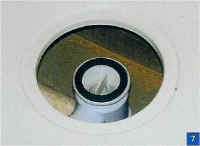
Step
5:
Connect the trap to the waste outlet
ensuring that it is positioned centrally to the Dec drainage aperture. |
 |
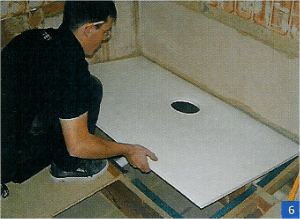
Step
6:
Once happy that the Dec fits the hole and
waste meets the centre of Dec's outlet, add noggins to support the edges
and then place your Aqua-Dec into position. |
 |
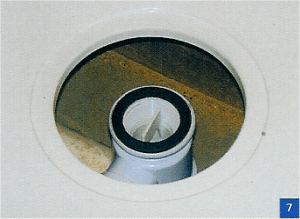
Step
7:
Check Waste again for accurate central
positioning as it would be extremely difficult to get to after this point
and can cause problems if undetected. |
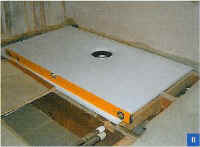 |
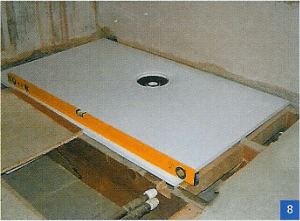
Step
8:
You can never check too much, ensure Dec is
level and once happy pack up accordingly. |
 |
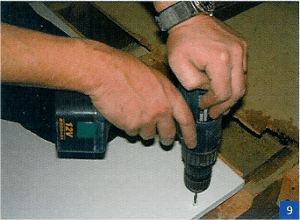
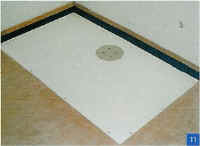
Step
9:
Again, once happy that your Dec is level,
screw into place ensuring that it is flush with surrounding floor to fit
vinyl or tiles. |
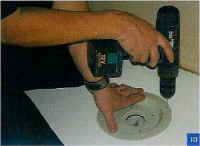 |
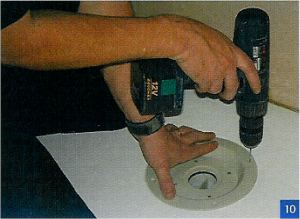
Step
10:
The trap-a-dapta is drilled and screwed in
place. Waste fitting from top access shower trap is screwed into place. |
 |
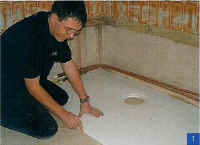
Step
11:
When completed, the tilesafe membrane and
tiled or vinyl floor can be fitted in an approve manner. |