Modular wet room shower floor formers

Add this page to your favourites

Creating a beautiful wet room shower with the VARI DECK Modular wet room shower floor system is easy


Step by step guide to using a MONO DECK system to create virtually any size wet room shower

Index > All about wet rooms > Wet room floor formers > Modular wet room shower floor > VARI DECK Installation guide

VARI DECK modular wet room flooring system - 3 simple components to build your perfect wet room floor

Creating the perfect wet room shower is easier than you might think

A wet room shower not only looks great, it increases the visual and usable floor space within your shower or bathroom by removing limits and perimeters that are apparent with a traditional shower tray. Wet room showers lend themselves equally to small or large rooms.

By using modern tanking systems (such as Tile Sure) you can rest assured that your building will remain dry and leak free even though you appear to be pouring water down a hole in the floor.

We hope by explaining the relatively simple process of installation that the myths and mysteries of how to construct a wet room shower will be dispelled.

There are numerous 'one-piece' floor formers available for timber floors whose installation will share many of the characteristics shown here, but this guide is intended to show how the newest (and arguably the greatest) innovation in wet room shower floor formers can be utilised to create virtually any size or shape of wet room shower floor using pre-formed modular components.

This is how you install the VARI DECK wet room shower floor system.


Step 1

Decide where you want to place your wet room shower area and how big it will be. Expose the floor joists by removing a section of floor board equivalent to the shower area..

Remove a section of floor board equivalent to the size your shower area will be. Expose the floor joists.

Step 2

To provide support and to ensure the shower area floor is strong a process known as 'under-boarding' is next. This is where a flat base is established by panelling between the floor joists with plywood. Support batons are fixed to either side of the floor joists on which each plywood panel can sit.

Attach battons ether side of the floor joists on which to sit your under-boards.

Step 3

The batons (mentioned in step 2) are fixed lower than the top of the joist at a level equivalent to the thickness of the plywood, so when the panel sits on the baton you establish a flat surface - panel/joist/panel/joist etc.

Cut plywood panels to fit between the joists. Sit them onto the battons.

Step 4

Plywood under-boarding panels are fixed securely to the batons.

Screw the plywood under-boarding panels to the battons.

Step 5

Trim the drainage component to size. Using a hole saw cut the hole/s for the waste trap/s in the drainage component, then lay the drainage component in position and cut corresponding hole/s in the under-board on which it will sit.

(Up to three holes may be cut to accommodate a corresponding number of waste traps.)

Trim the drainage component to the required size and cut the requisite hole/s for the waste trap/s.
Step 6

Remove the under-board on which the drainage component will sit and install the waste trap and pipe work to align with the hole/s cut in step 5.

Having established the position of the hole/s in the drainage component, remove the under-board panel and align/install the waste pipework and trap/s,

Work out where your waste pipe will run.

Step 7

With waste pipe work in place and corresponding hole/s cut in the under-board, the drainage component can be laid in place. The waste trap (that can be seen through the hole) is cleverly drawn up tight to the underside of the drainage component using a threaded plug (which is made watertight with rubber seals).

fully install the drainage component and secure the waste trap/s.

Step 8

With the waste plumbing complete attention can be turned to creating the slope by infilling the area between the surrounding floor and the drainage component with tapered board.

Tapered boards can be used singly or in conjunction with others according to the size of shower area. Boards can easily be trimmed on site for a perfect fit.

Cut the tapered board to size.

Step 9

Lay the trimmed tapered board/s in place.

Lay the trimmed tapered board in place ensuring a snug fit.
Step 10

Fix tapered board down using supplied screws and large washers. Note how the screws are positioned and spaced across the entire board.

Using the fixings provided, screw the tapered board to the under-board and joists.
First stage installation of wet room shower floor completed.

The first image shows the drainage component against the wall, the second image shows it set away from the wall. The process for installation remains the same, the only variation is the position of the drainage component.

Against the wall...

The shape in the floor is now formed. There are several processes to follow including tanking and tiling.


Set away from the wall...

Note the additional tapered board between the drainage component and the wall providing a second slope.

There are several ways a sloping floor and gully can be installed.

Drainage component against the long side

Notice how the width of the shower area exceeds the length of the drainage component. Board sections are fixed adjacent to each other with infill panels either side of drain.

Multiple tapered boards can be laid side by side according to the desired width of the shower area.

Image below illustrates how the gully and grill can extend beyond the drainage component. Water is guided inward towards the waste outlet/s.

The length of the linear gully and grill can be chosen up to 2000mm.

 
Basics

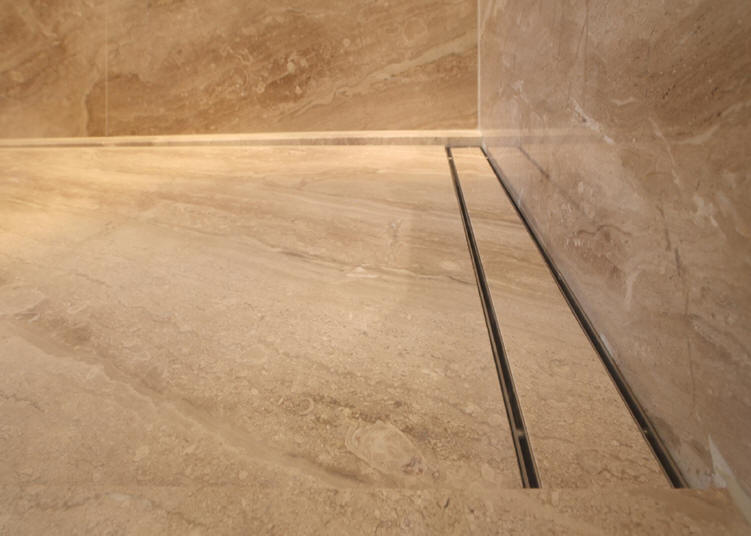
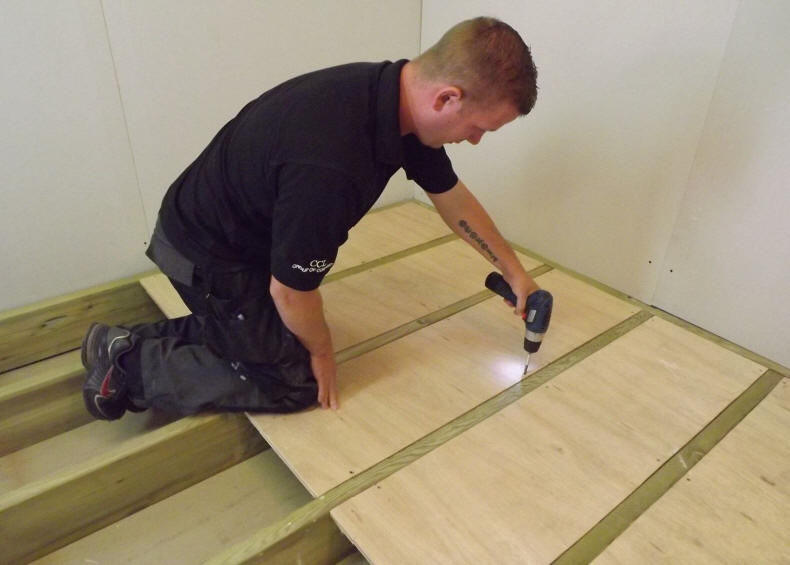
In order to ensure a wet room floor will perform its design function it is essential to ensure the floor in your shower or bathroom is not compromised with a negative camber before you begin. As water will always find the easiest route down hill make sure this is towards the gully - not out through the bathroom door onto the landing! And yes, we have heard reports of such an occurrence!

Check your floor with a spirit level at the planning stage. While most newish properties will enjoy flat and level floors, very old properties may have distorted or suffered major settlement rendering the floors crooked and sloping.

It's not rocket science but a perfect result just needs a little consideration for the obvious.

It is a sad fact that we hear reports of wet rooms that have been constructed with a fall towards the door - rather than the drain! This is often where wet room showers unfairly get a poor reputation. Negative comments about wet rooms are normally the result of poor workmanship or lack of understanding on the part of the installer.
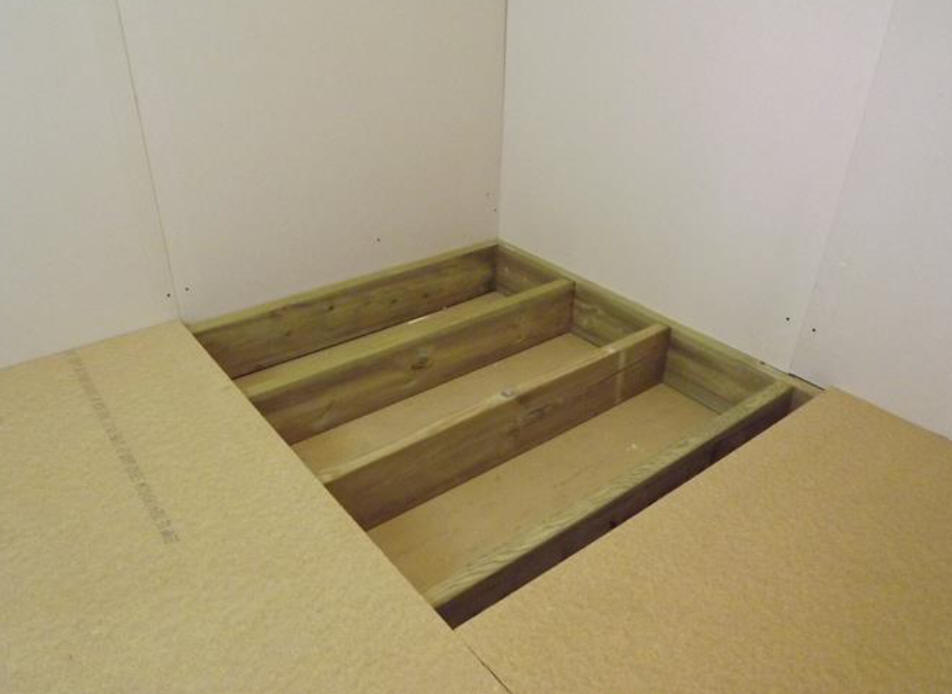
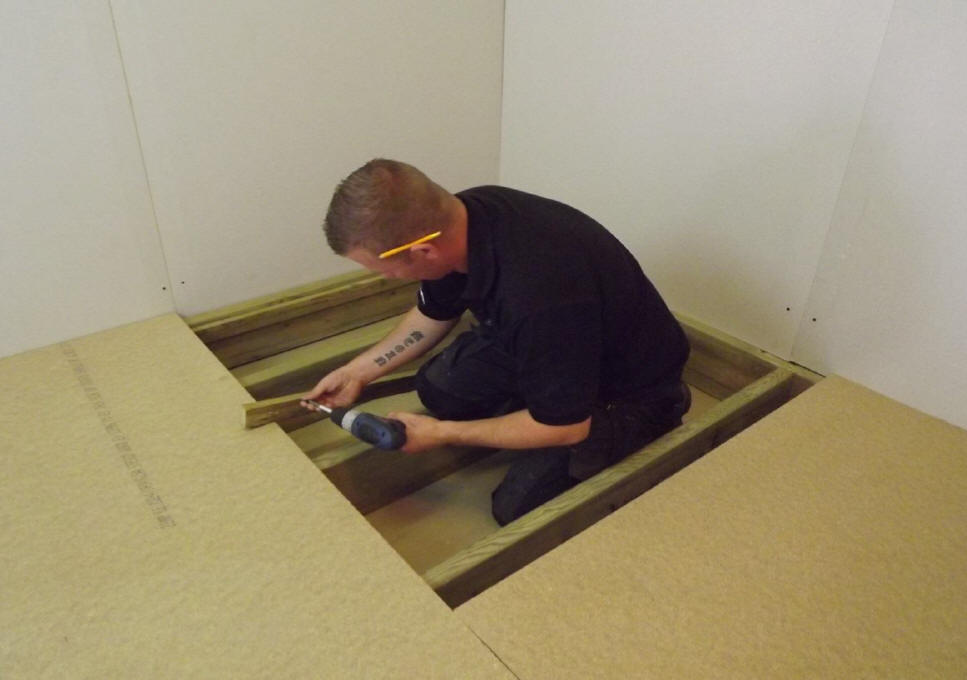
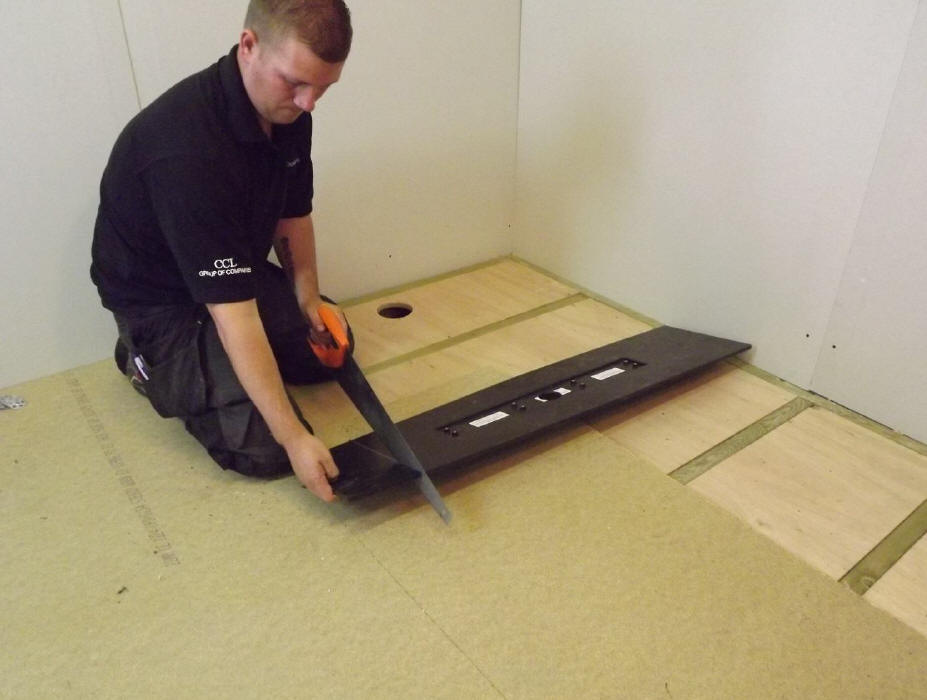
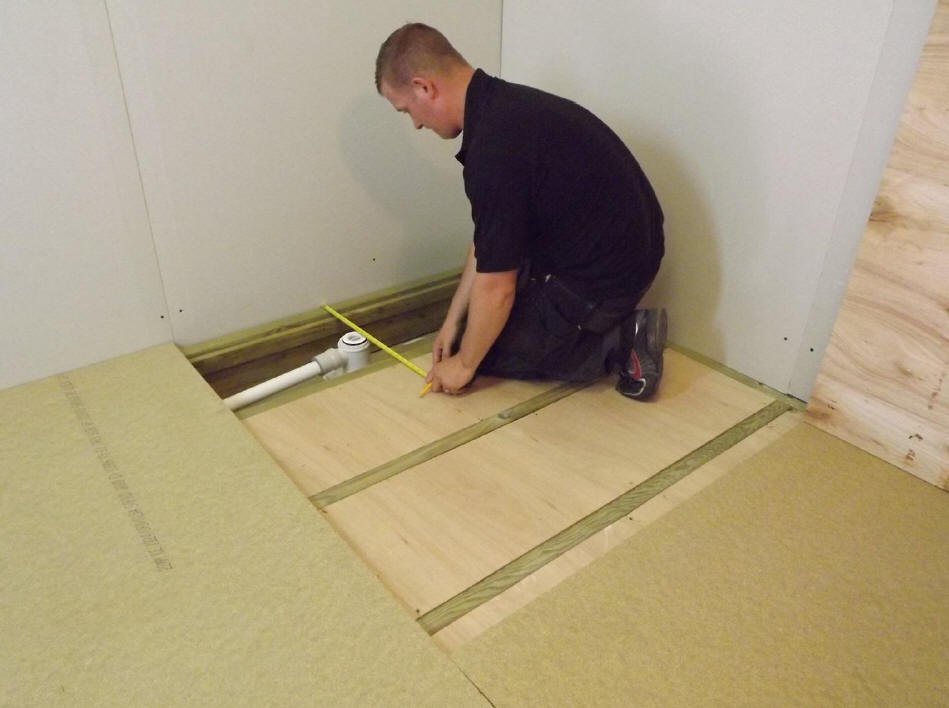
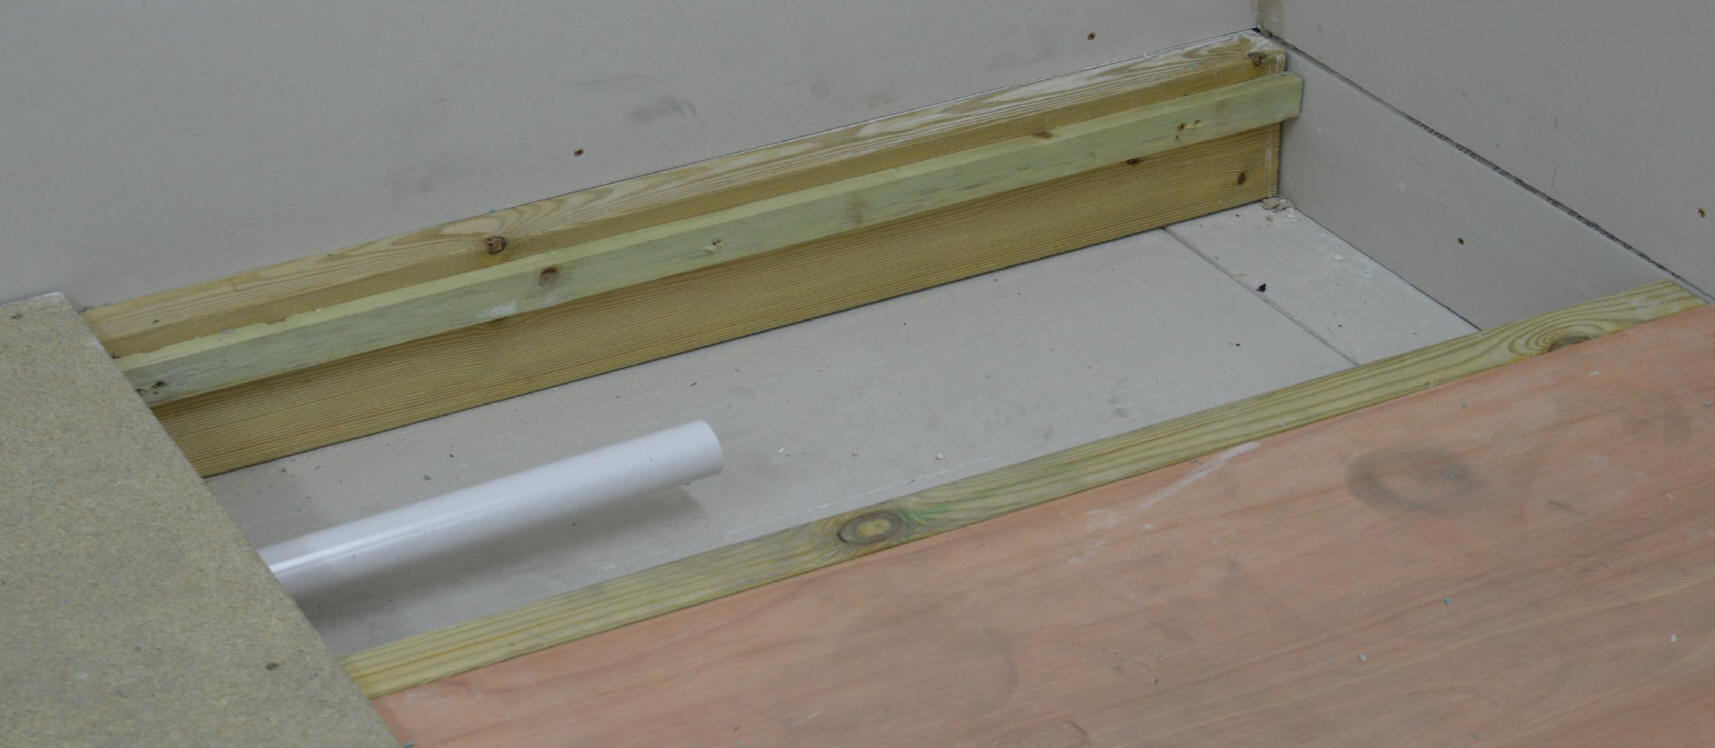
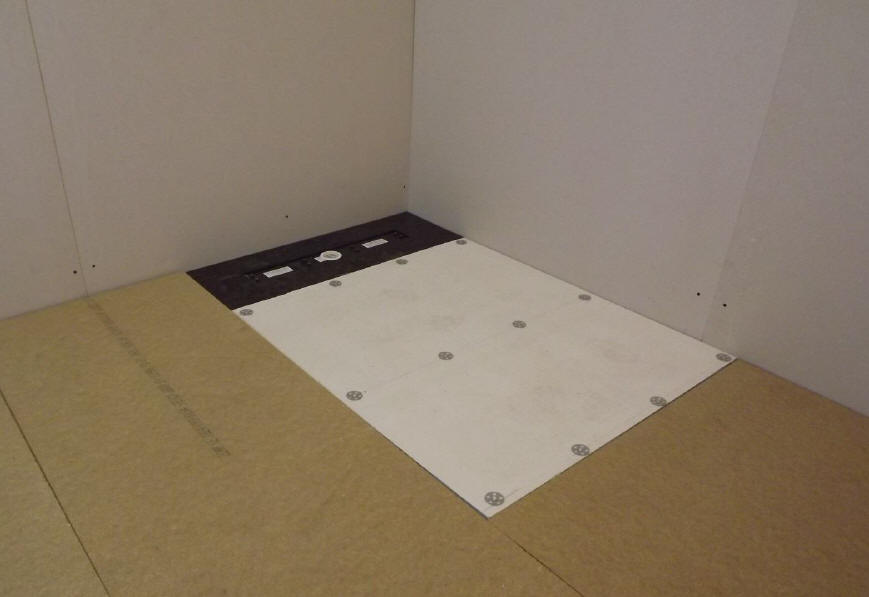
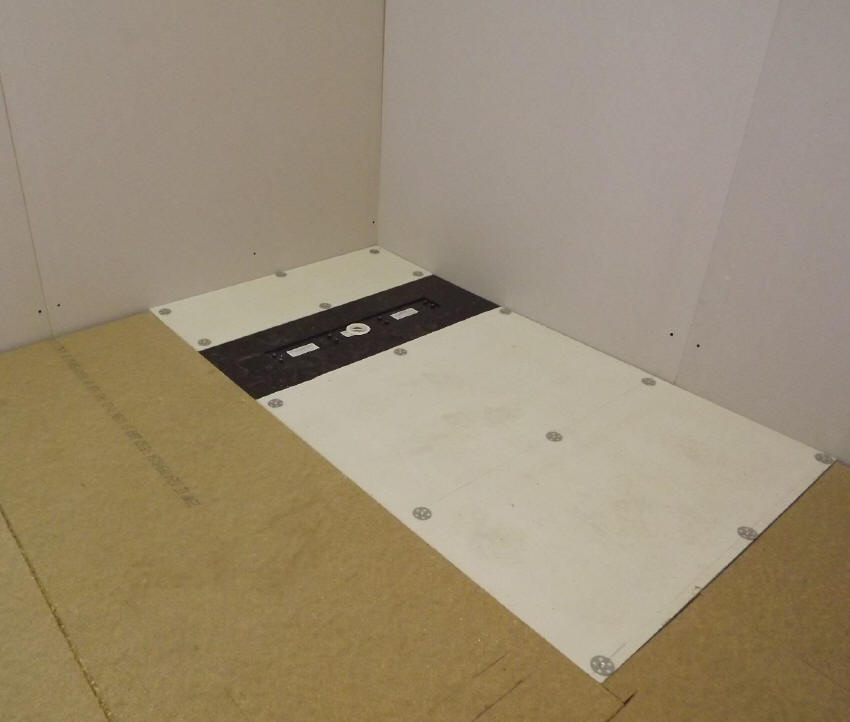
 

The final stages of installing a wet room shower floor

The process explained above is of course only the first stage of creating the floor for a wet room shower. Remember, there are further stages before you have a fully operational wet room shower.

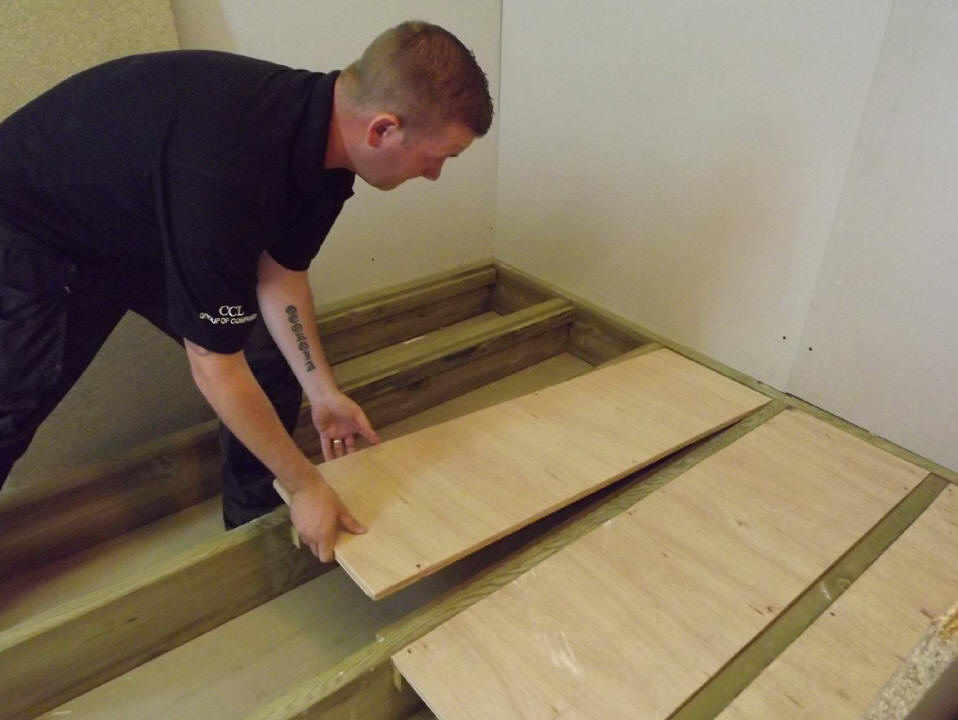
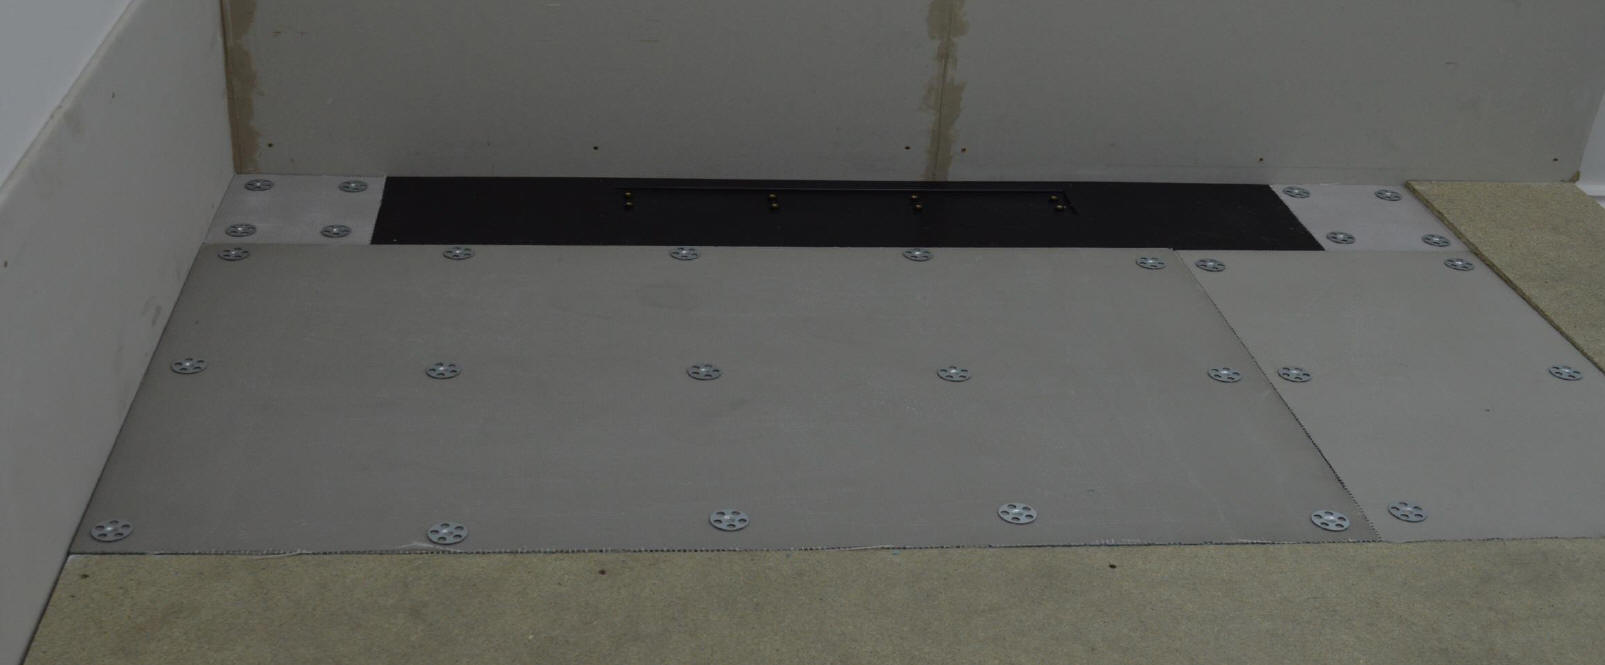
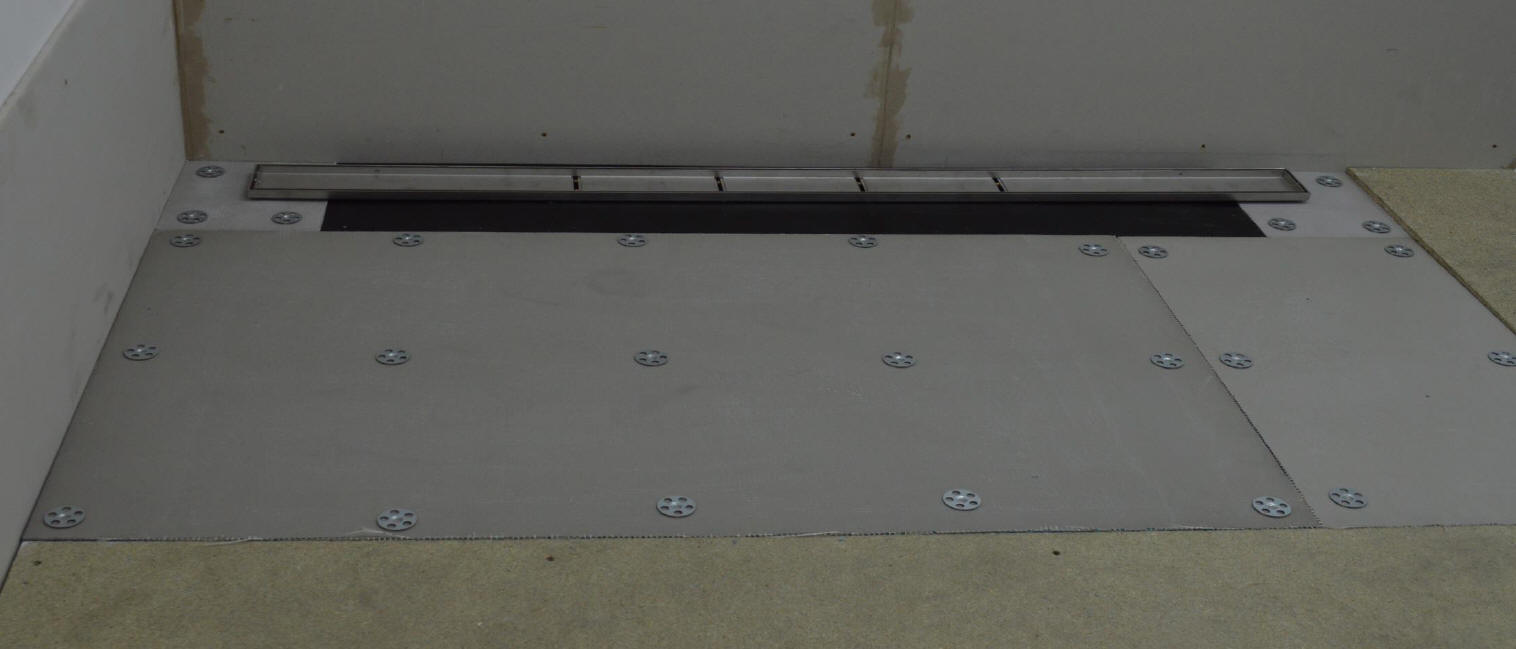
Next, you should use a good quality tanking system to ensure your newly formed shower area is completely watertight. You then have a choice of whether to use under-tile heating which will install on top of the tanking membrane - within the tile adhesive layer. Next you may tile and grout your floor using flexible waterproof products.

Your wet room shower will then be ready to get wet.

 
If you have questions or require further information please don't hesitate to call.


If at any time you wish to speak with a member of staff we will be only too pleased to help.


Aquadec Easyfit by Impey - Floor former for wet room shower